


Wordpress setup with MySql and PhpMyAdmin using docker | Docker wordpress tutorial
In this article i will explain you step by step to dockerize your Wordpress application with mysql and phpmyadmin and create wordpress docker project
We need to create three Application container db, phpmyadmin and wordpress
Step 1: Create docker-compose.yaml file at the root path of your project
Step 2: Add db container as a service inside docker-compose.yaml file
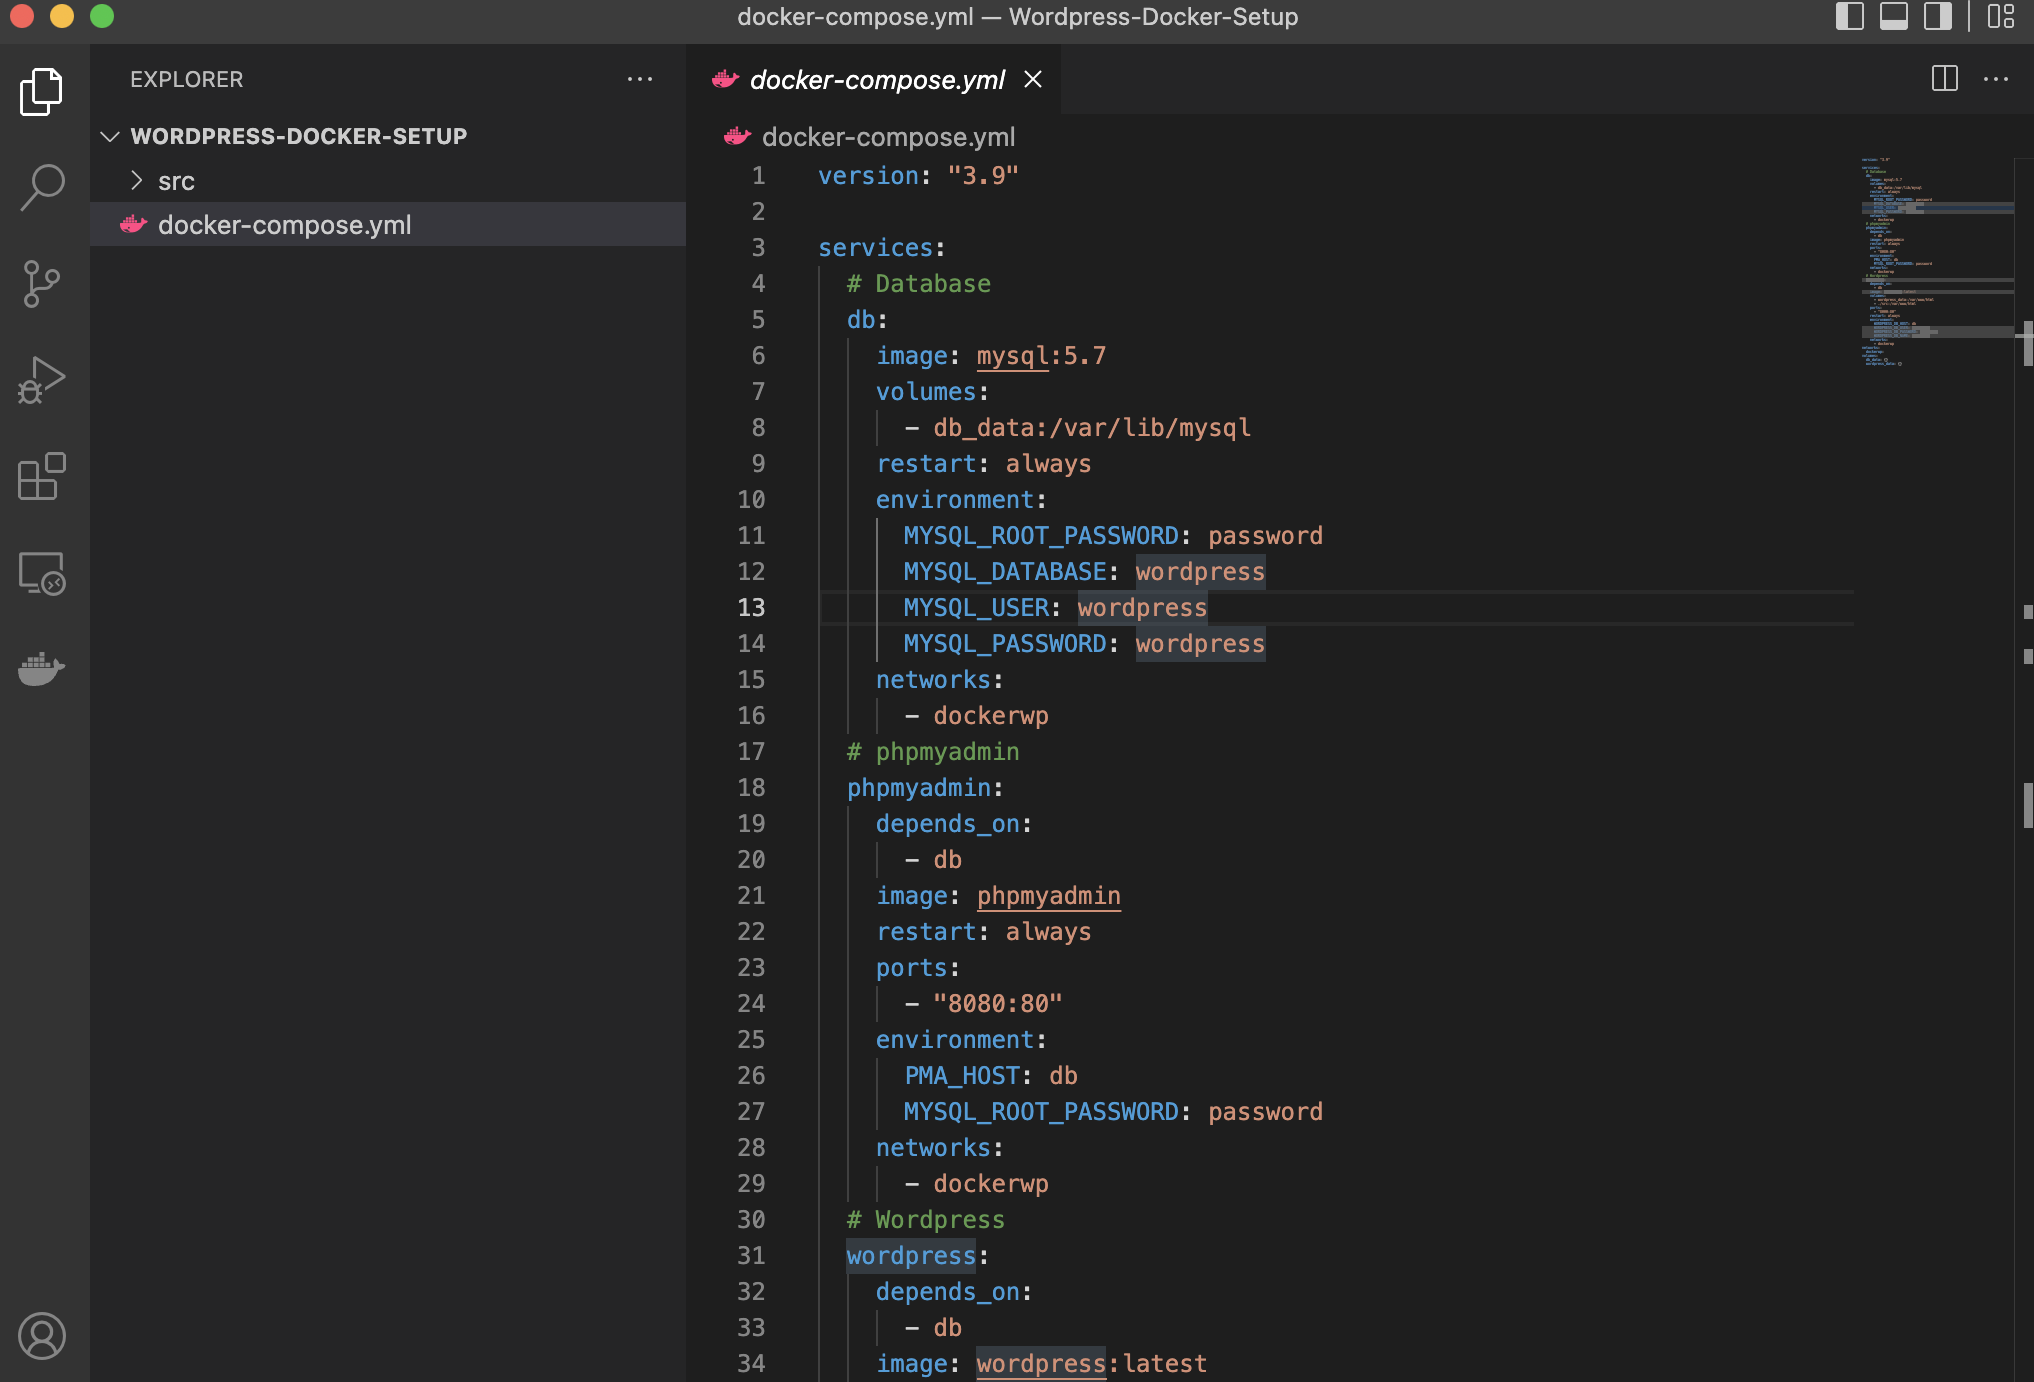
Copy paste following code inside your docker-compose.yaml file to add db container MYSQL_USER and MYSQL_PASSWORD is the username and password to authenticate the database and we have created this container under dockerwp network, restart:always parameter Restarts all stopped and running services. If you make changes to your docker-compose.yml
version: "3.9"
services:
  # Database
  db:
    image: mysql:5.7
    volumes:
      - db_data:/var/lib/mysql
    restart: always
    environment:
      MYSQL_ROOT_PASSWORD: password
      MYSQL_DATABASE: wordpress
      MYSQL_USER: wordpress
      MYSQL_PASSWORD: wordpress
    networks:
      - dockerwp
Step 3: Add phpmyadmin container as a service inside docker-compose.yaml file
Copy paste following code inside your docker-compose.yaml file to add phpmyadmin container
version: "3.9"
services:
  # Database
  db:
    image: mysql:5.7
    volumes:
      - db_data:/var/lib/mysql
    restart: always
    environment:
      MYSQL_ROOT_PASSWORD: password
      MYSQL_DATABASE: wordpress
      MYSQL_USER: wordpress
      MYSQL_PASSWORD: wordpress
    networks:
      - dockerwp
  # phpmyadmin
  phpmyadmin:
    depends_on:
      - db
    image: phpmyadmin
    restart: always
    ports:
      - "8080:80"
    environment:
      PMA_HOST: db
      MYSQL_ROOT_PASSWORD: password
    networks:
      - dockerwp
Step 4: Add wordpress container as a service and volumes inside docker-compose.yaml file
Copy paste following code inside your docker-compose.yaml file to add wordpress container and this completes your docker-compose.yaml file
version: "3.9"
services:
  # Database
  db:
    image: mysql:5.7
    volumes:
      - db_data:/var/lib/mysql
    restart: always
    environment:
      MYSQL_ROOT_PASSWORD: password
      MYSQL_DATABASE: wordpress
      MYSQL_USER: wordpress
      MYSQL_PASSWORD: wordpress
    networks:
      - dockerwp
  # phpmyadmin
  phpmyadmin:
    depends_on:
      - db
    image: phpmyadmin
    restart: always
    ports:
      - "8080:80"
    environment:
      PMA_HOST: db
      MYSQL_ROOT_PASSWORD: password
    networks:
      - dockerwp
  # Wordpress
  wordpress:
    depends_on:
      - db
    image: wordpress:latest
    volumes:
      - wordpress_data:/var/www/html
      - ./src:/var/www/html
    ports:
      - "8000:80"
    restart: always
    environment:
      WORDPRESS_DB_HOST: db
      WORDPRESS_DB_USER: wordpress
      WORDPRESS_DB_PASSWORD: wordpress
      WORDPRESS_DB_NAME: wordpress
    networks:
      - dockerwp
networks:
  dockerwp:
volumes:
  db_data: {}
  wordpress_data: {}
Step 5: Run docker, run wordpress and phpmyadmin
Make sure your docker is running then copy below command and open terminal and go to your docker folder where docker-compose.yaml file is kept and run the command
docker-compose up -d
this will start the docker in detached mode once your docker is running you can go to browser and run the url http://localhost:8000 this is for wordpress it will ask you to install the wordpress follow the installation steps
After you have completed the wordpress installation and you are logged in open url http://localhost:8080 this is for phpmyadmin and make sure to use the username and password MYSQL_USER: wordpress, MYSQL_PASSWORD: wordpress, to login

